Finger coils, on any hair length and texture, is a great curly styling option that can last for up to two weeks. Total styling time can take any where from 1 hour – 2 hours depending on hair length and density.
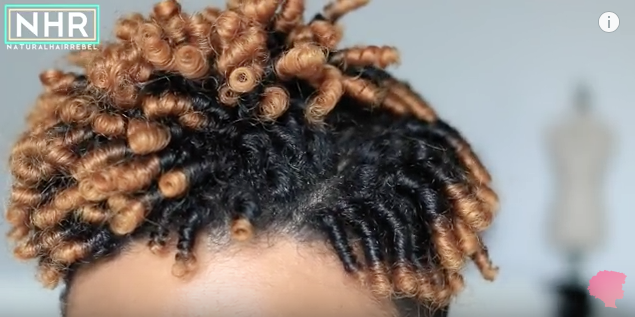
A professional stylist can perfect the style for you so that it last, but it’s simple enough for you DIY ladies.
All you need is some hair styling products, detangling comb, and your finger.
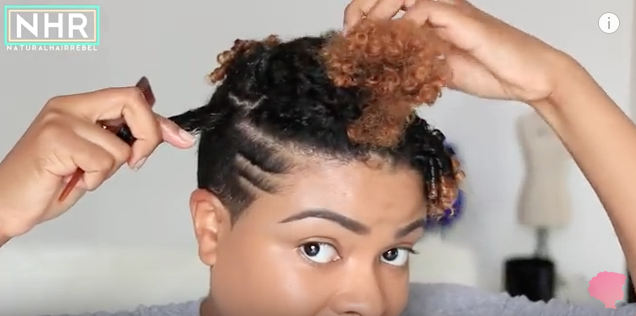
How to create Finger Coils
- Start on clean hair: washed and conditioned
- Make sure hair is wet throughout coiling the hair so keep a spay bottle filled with water on hand
- Add a leave-in conditioner all over your hair for a moisture base
- Best to work from the back to the front of the head
- Section hair into small rows and clip the rest out of the way
- Make sure the hair is detangled before coiling
- Add your choice of styling product that has hold like a curling cream, mouse, setting lotion, or gel
- In the rows, separate no larger than 1 inch sections to create individual coils
- Coil down from the scalp, stretching and twirling the 1 inch section, using your finger, until it begins to form a coil
- Repeat until all of the hair is complete
- Seal your coils with an oil or balm of your choice
- You can air dry and sleep with a satin bonnet overnight, or sit under a hood dryer until you hair is dry.
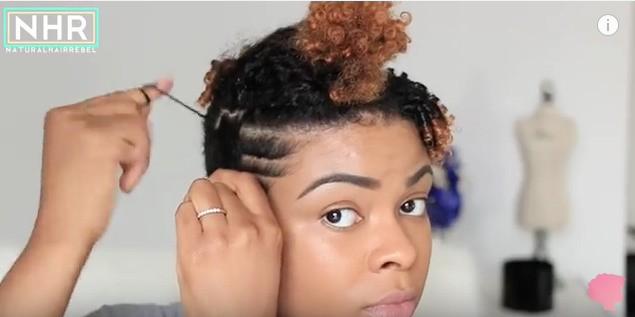
To create a fuller look, separate the coils in smaller sections, and make sure you twirl the section in the direction of the coil as you pull them apart.
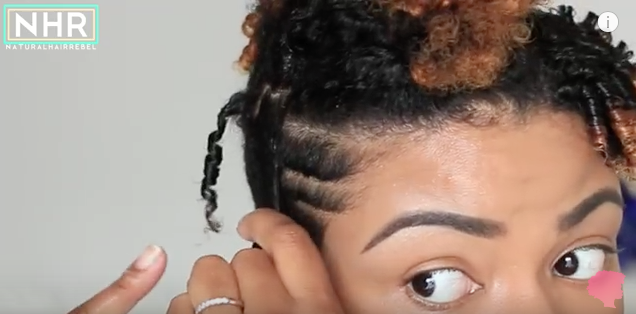
For more uniformed coils, you can use a comb to create this style, also known as comb coils.
Beauty YouTube Vlogger Natural Hair Rebel demonstrates, in the following tutorial, how to do finger coils:


